

 Finally
The weather got warm enough so we could do our install of insulation. Without it, we could not progress much further with the interior. Over the last month or so, we have been watching the weather, prepping the inside, installing LOTS of wire and in-wall plumbing.
Preparation
There are quite a few items that require us to put wires, tubes, etc. through the walls. This includes our bathroom fans, our outdoor shower unit, the Lunos heat recovery ventilation (HRV) system, the kitchen vent, wood stove vent, and several electrical plugs. We are coordinating the kitchen and wood stove vents with the roof installer. This is to ensure the flashing is done just right. The outdoor electrical outlets are just a simple wire, so we can do that at a later date. But the rest all had to be in place. After some back and forth, we also decided to draw speaker wires for the outdoors and the lounge. Yes, we could go wireless, but sound is important and we wanted the option to go direct.
We figured the insulation company would cover up windows, floors, and anything we did not want sprayed. However, having read about a few horror stories, we thought we would do our own prep too. We thought it best to ensure all the electrical boxes, fans, hanging wire, and any plumbing lines, were all covered.
The crew arrives and insulation work begins
 The day finally arrived and the Truck and Trailer of the installer smoothly backed into the driveway and started up the machinery. There was a crew of three. The master sprayer (he had 15 years of experience and was a bit of an artist with the spray gun) and two others who did the prep and cleanup. Plastic sheathing went on all the windows, floors, and even the stairway and loft support pole were covered. Nice job.
Closed Cell foam insulation is made of two separate chemicals that are heated and fed into two separate hoses. They are mixed and combined with air pressure when sprayed onto the surface. It expands very quickly and seeks every nook and cranny, turning solid hard within minutes. The result – an airtight and very rigid structure.
 As you can see in this picture here, proper protection is required during the application process. However, all gasses dissipate within minutes and the resulting foam is actually biodegradable.
After the interior was done (and it took probably 4 hours), the underside of the gooseneck and a couple of spots under the trailer were also sprayed.
The wrapup


The cleanup crew now went at it, removing any overspray, cleaning the studs, and taking care of any areas where the insulation found a gap and expanded to the outside.
We had been awaiting for this day for a long time and were also very nervous, hoping that everything would go smoothly. Given the perfect weather we are so glad we waited rather than push for an earlier date. Here is a summary video, including a side by side compare.


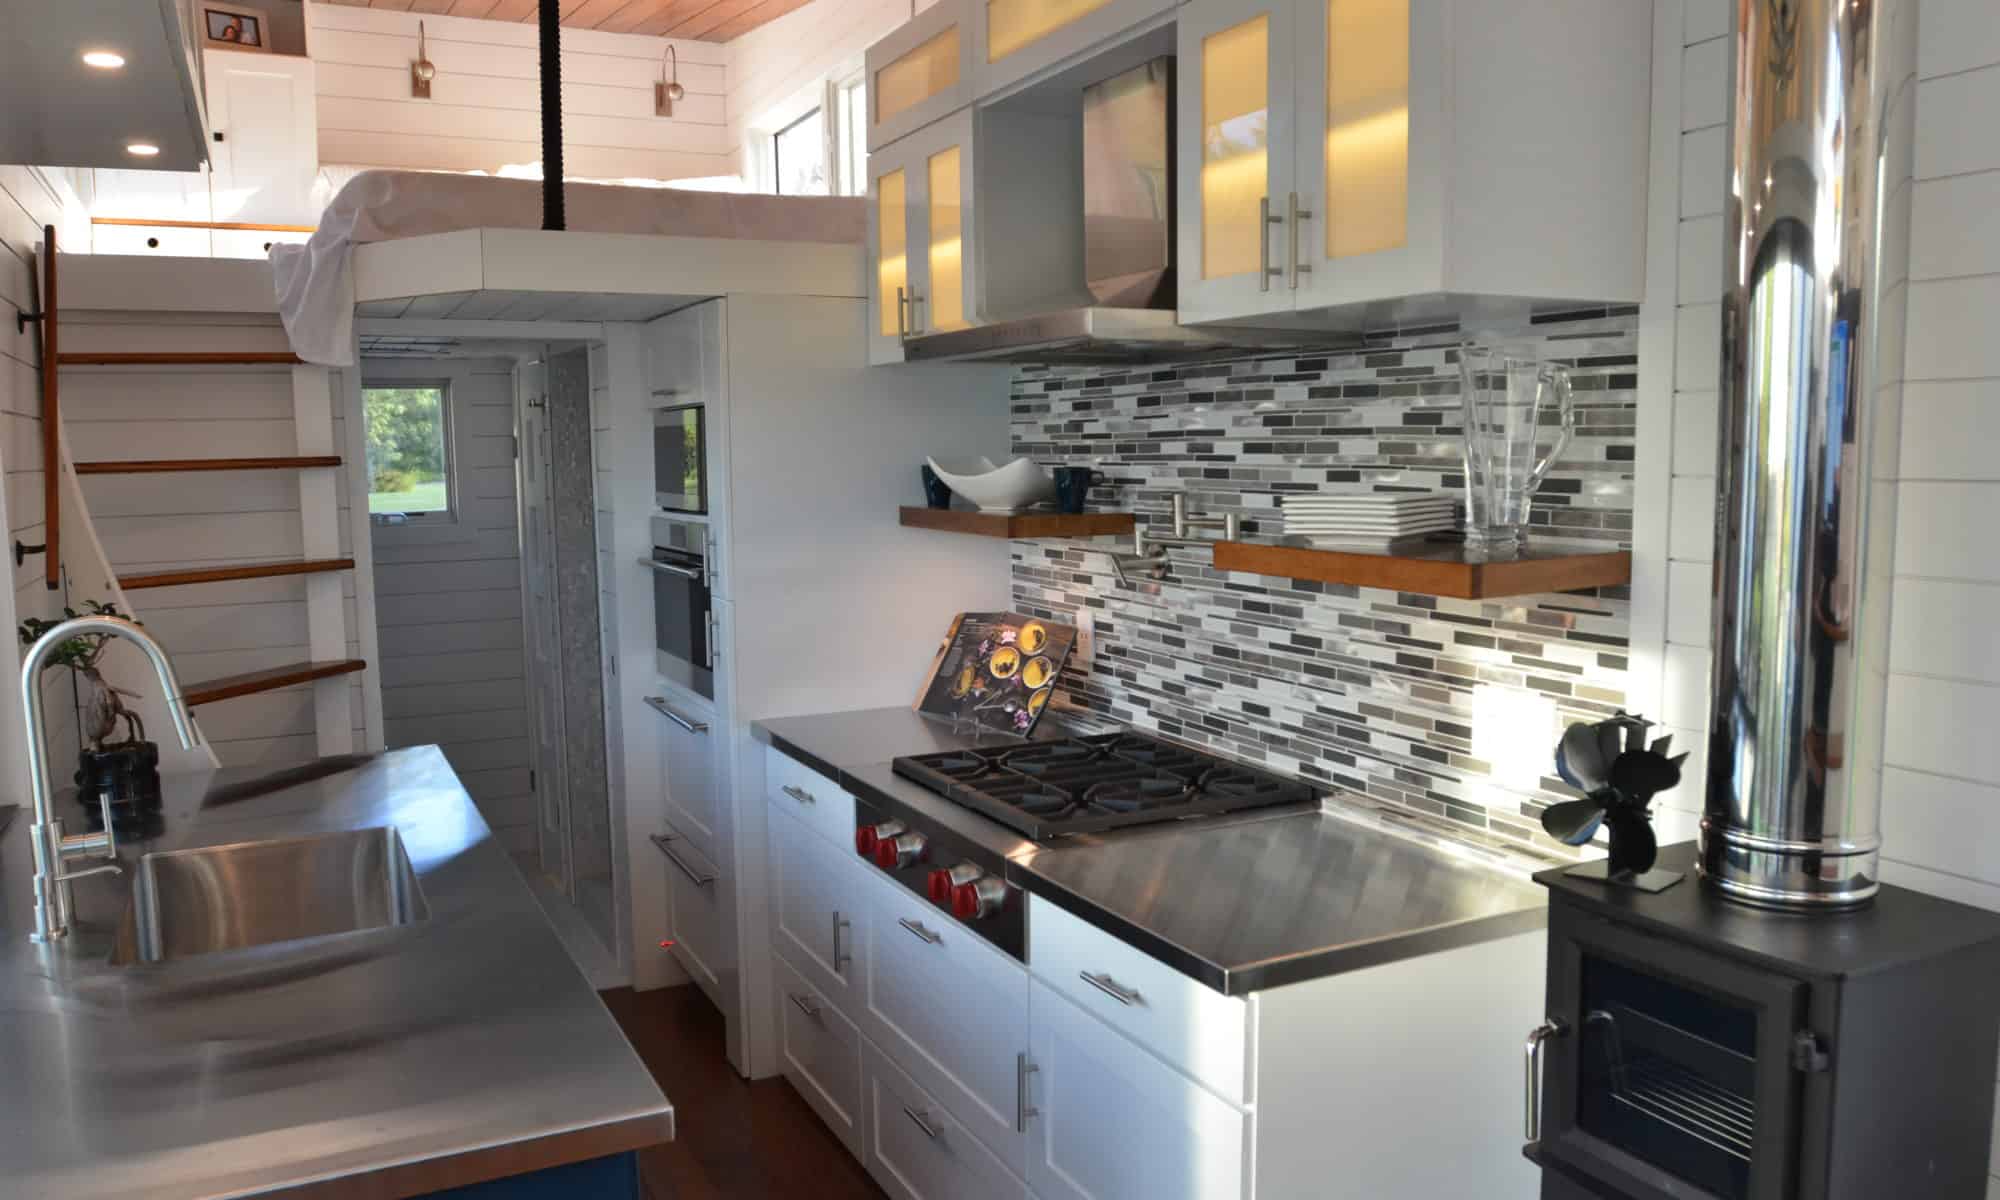
 The rest is all accessible after the insulation goes in. I will do another post on the actual plumbing with the tanks, pumps, filters, etc. That is a whole science in itself.


