

If you followed us along thus far, you come to know that even though this is a tiny house, there is so much detail, so many choices, and so many decisions to be made. The roof is no exception.
From the research we did, almost everyone goes for a metal roof. Especially for those houses that will frequently be on the move. It does make a lot of sense as metal roofs are fairly light weight, virtually maintenance free, and hold up extremely well under windy conditions. Going down the road at 70 mph (120 km/h) is equivalent to being in a hurricane, so better be ready.
Once the material selection was made, we now had to make a decision on the style.  Again, research told us that a standing seam was the best choice as we were going to have solar panels mounted. It turns out that there are specific mounting brackets that fit right on the seam, allowing us to mount them close to the surface and without penetrating the actual roof.
Next was the color. At first we thought a dark color, even black, would go best with our overall design and color choices for the siding. However, it turns out that a dark surface may not be the best option underneath solar panels. As black attracts heat, it would make our roof top deck unbearably hot on those days when we would enjoy being up there. So given that, we selected a light gray color, which turned out great.
We had done some roofing projects in the past, building a couple of small sheds using regular shingles. We also found several DYI Tiny home builders that installed their own. Nevertheless, when considering the tools needed to properly install it (especially to bend metal sheets around corners) and the implications of not properly flashing seams, we decided to outsource this and hire a professional.
Global Home Improvement sent over a great crew of four who spent two full days on site. Can’t imagine how long it would have taken Julia and I to do this.
It really was a custom job, starting with the fabrication of the actual panels. In this video here, you can see how they extruded complete panels from a roll of metal, right in our driveway. Fascinating!

We had to mount our furring strips and trim board as guides, so that the drip edge could be properly installed. We also had to make the holes and prepare for the kitchen exhaust vent, wood burning stove vent pipe, and the roof top access window. These three items, especially the window, made this project quite complex. The rest was really just three rectangles with a very low slope.
 For our kitchen (and we have a lot more exciting news to share about that soon), we decided to go with a Wolf external blower for the fan. This way we could both have powerful fan to exhaust any fumes, but it would also limit the noise it made. To say it is a substantial unit, especially for a tiny, is an understatement. But it fit like a glove and the crew made sure it was mounted and sealed properly.

 Our Tiny Wood Stove came with a roof vent kit. We have not installed the actual stove yet, but needed to get the pipe measured, aligned, and integrated into the roof. The double wall piping requires a 2″ space to combustibles, so we had created a square box in the ceiling prior to the insulation going in. Now we just had to cut the hole, mount the bracket that came with the kit, and make sure it was all the right height. The roofing crew once again got it all incorporated into the roof design and made sure it was properly sealed.
 Lastly was the Velux Roof top access window. This was integral to our design as it was the way to the roof top deck. If you recall, our floating stairway was the entrance ramp. As with all the other regular windows, we had Volstrukt frame this opening as well. Because of the low profile of our roof and our desire to increase the angle of the window, the crew had to customize the flashing. Again, so grateful we had these professionals on site as it would have been a difficult task, to say the least.
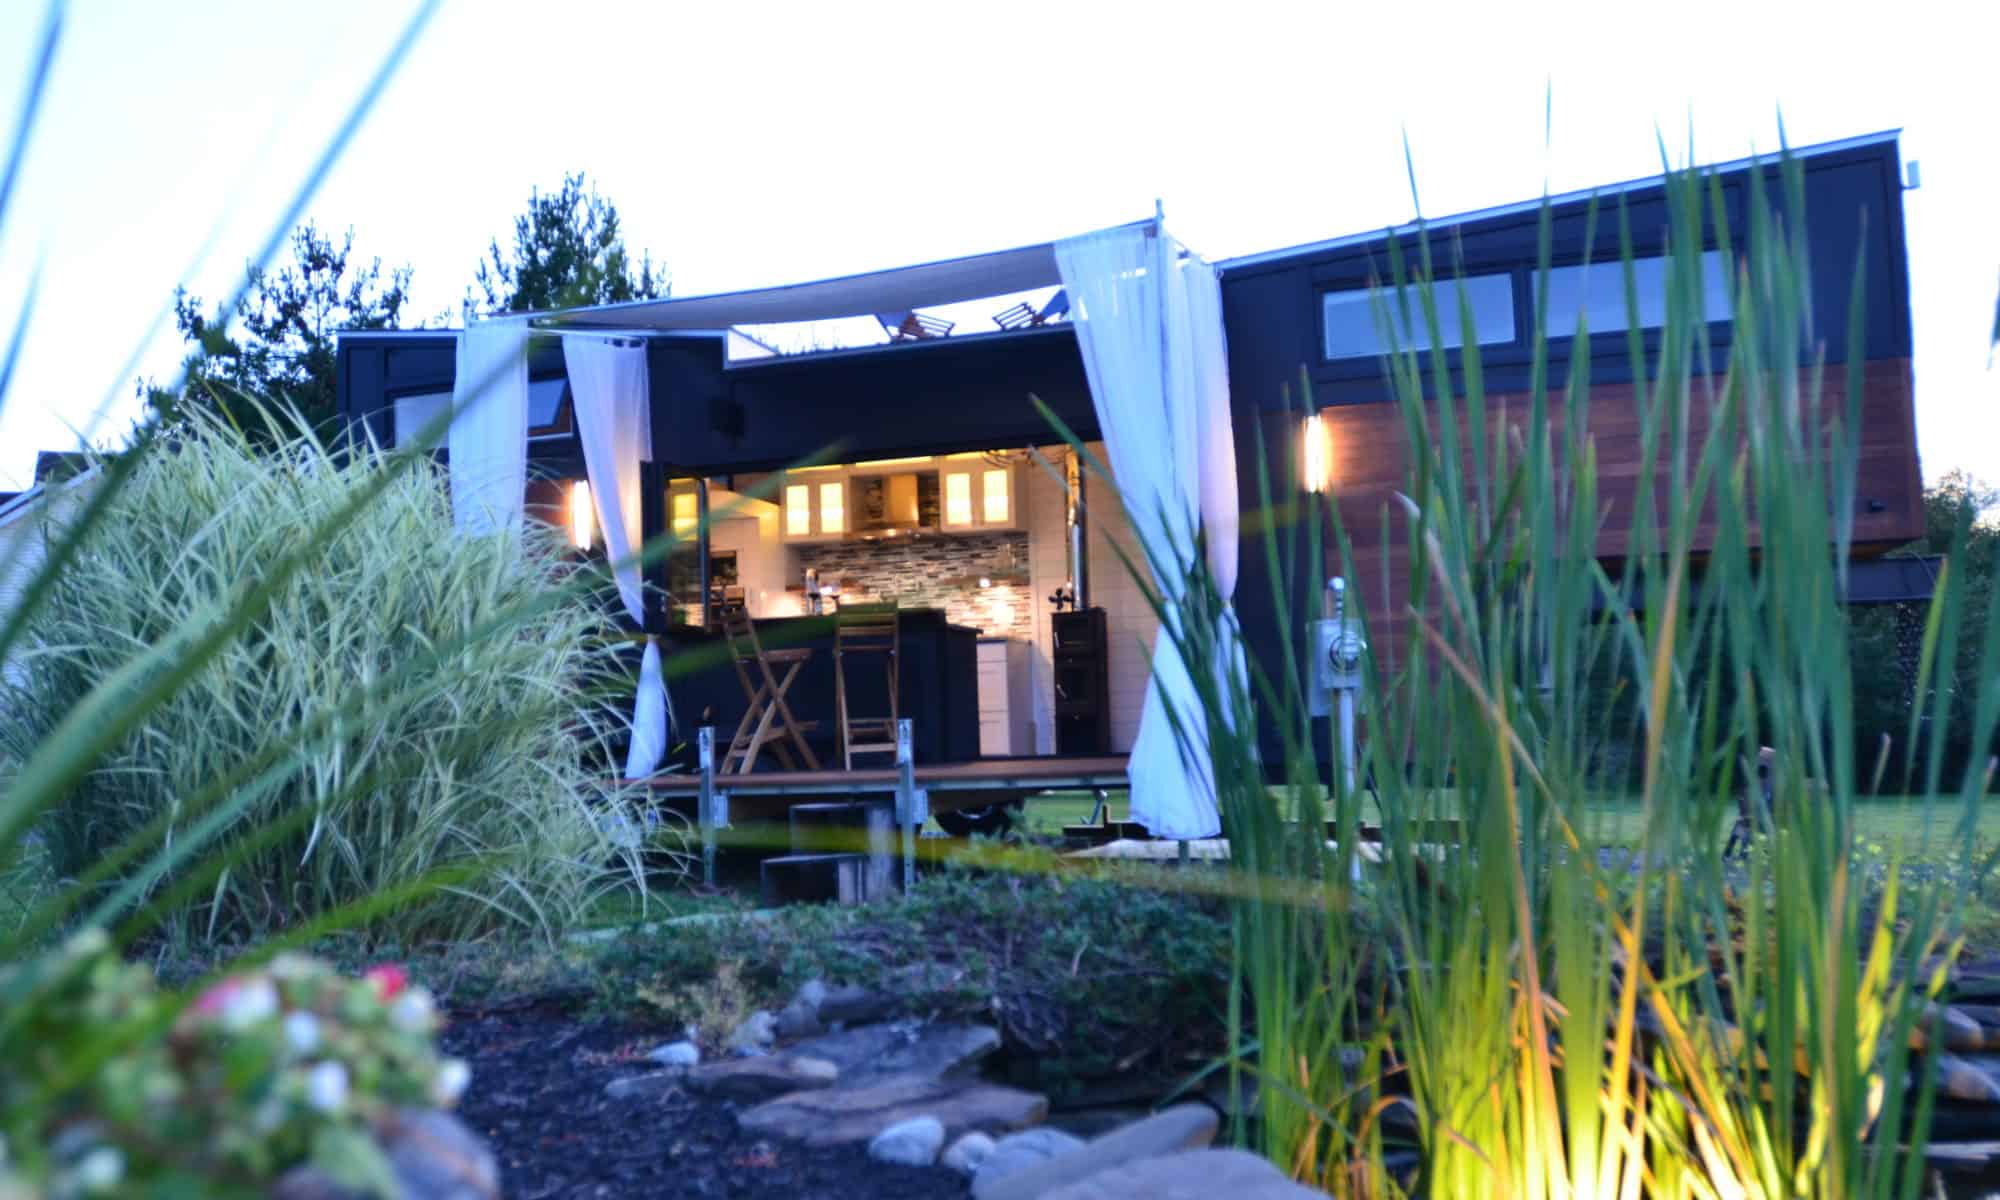
We are super happy with the results. The light color, along with the insulation, kept the tiny house nice and cool, even during a few days of close to 90 degree F (30+ Celsius) weather. Now we are ready for the solar system which we are installing next week.

Wow! Can’t wait to see the final final version of this project!
Thank You Åsa. We hope you can come and visit us. We love to show it to you in real life. Lots of progress planned over the next month
Looks great! Can’t wait for the solar panels!
Picked them up yesterday. If the rains stays away, they will go up this week
Looking great!!! I’m so impressed with your progress!!
Thank you Susan.