

After a lot of research on the solar equipment and parts, (see this link for part 1 of this post), it was time to order materials. The list was quite lengthy and comprehensive. Some of the off-grid solar resources, on the net, offered complete systems, but you do pay extra for their pre-assembled units. Additionally, you still need a ton of wire, clamps, conduits, etc. when it comes to the actual install. The whole process of determining the required components and which brand was better than the next was quite daunting. We reached out to Liam O’Brien. We can’t begin to tell you how helpful Liam was in helping us through this process. Not only did we save on cost, we also felt confident in Liam’s recommendations regarding the purchase of the best equipment and parts. We were so appreciative of Liam’s help that we decided to hire him to come help us with the actual install.
 Over the next couple of weeks, a pallet of batteries, boxes of inverters, controllers, screws, bolts, and wires started to appear. The panels themselves were shipped to the local trucking depot, so I took the old trusty Suburban and picked them up.
The install date arrived and in order to make it as efficient as possible, we had agreed to have Liam stay with us for a few days. Weather forecast – rain off and on every day.
After his arrival, we took a tour of the Tiny, scoped out the space, took inventory of all the materials we received, and did a preliminary layout of how the panels would be placed on the roof.  We knew there would be three panels on each of the two side roof sections that had to be aligned to the standing seams on the roof. It was important to maximize the positioning of the panels and be able to securely clamp them down so that they would not fly off the roof when driving down the road. All the attachments had to be fastened with special clamps so that the roof would not be compromised. No screws, nails, or bolts were allowed to penetrate the roof. We also discussed how the cabling would be run, where we would put the combiner box, and how the power lines would run down to the system.
 Next was a run to Home Depot. Based on our assessment, we made a list of the additional components required, such as conduits, brackets, breakers, the power panel, etc. It was starting to get really exciting. Since it was raining, we spent the rest of the day assembling the inverter and charge controller. We also built the skeleton for the combiner box and realized that a platform
 needed to be built so that we could mount it on the roof. What is a combiner box? It simply takes the feed from one array of solar panels (we have two strings of three panels), combines it with all other strings, and outputs that into one feed that goes down to the charge controller.
We caught some sun the next morning so we decided to do the solar panel installation. It went smooth and we were really pleased with how it aligned. As you can see from the pictures, we do have some available 
 space left, but not enough to have a balanced set of extra panels on each side. We also could not go wide because there are width restrictions and we could not be too close to the ends since that would raise our roof height. Our design of the house approaches the limits of both height and width (13.5′ [4.1m] and 8.5′ [2.6m] respectively) so we could not go beyond the already set dimensions.
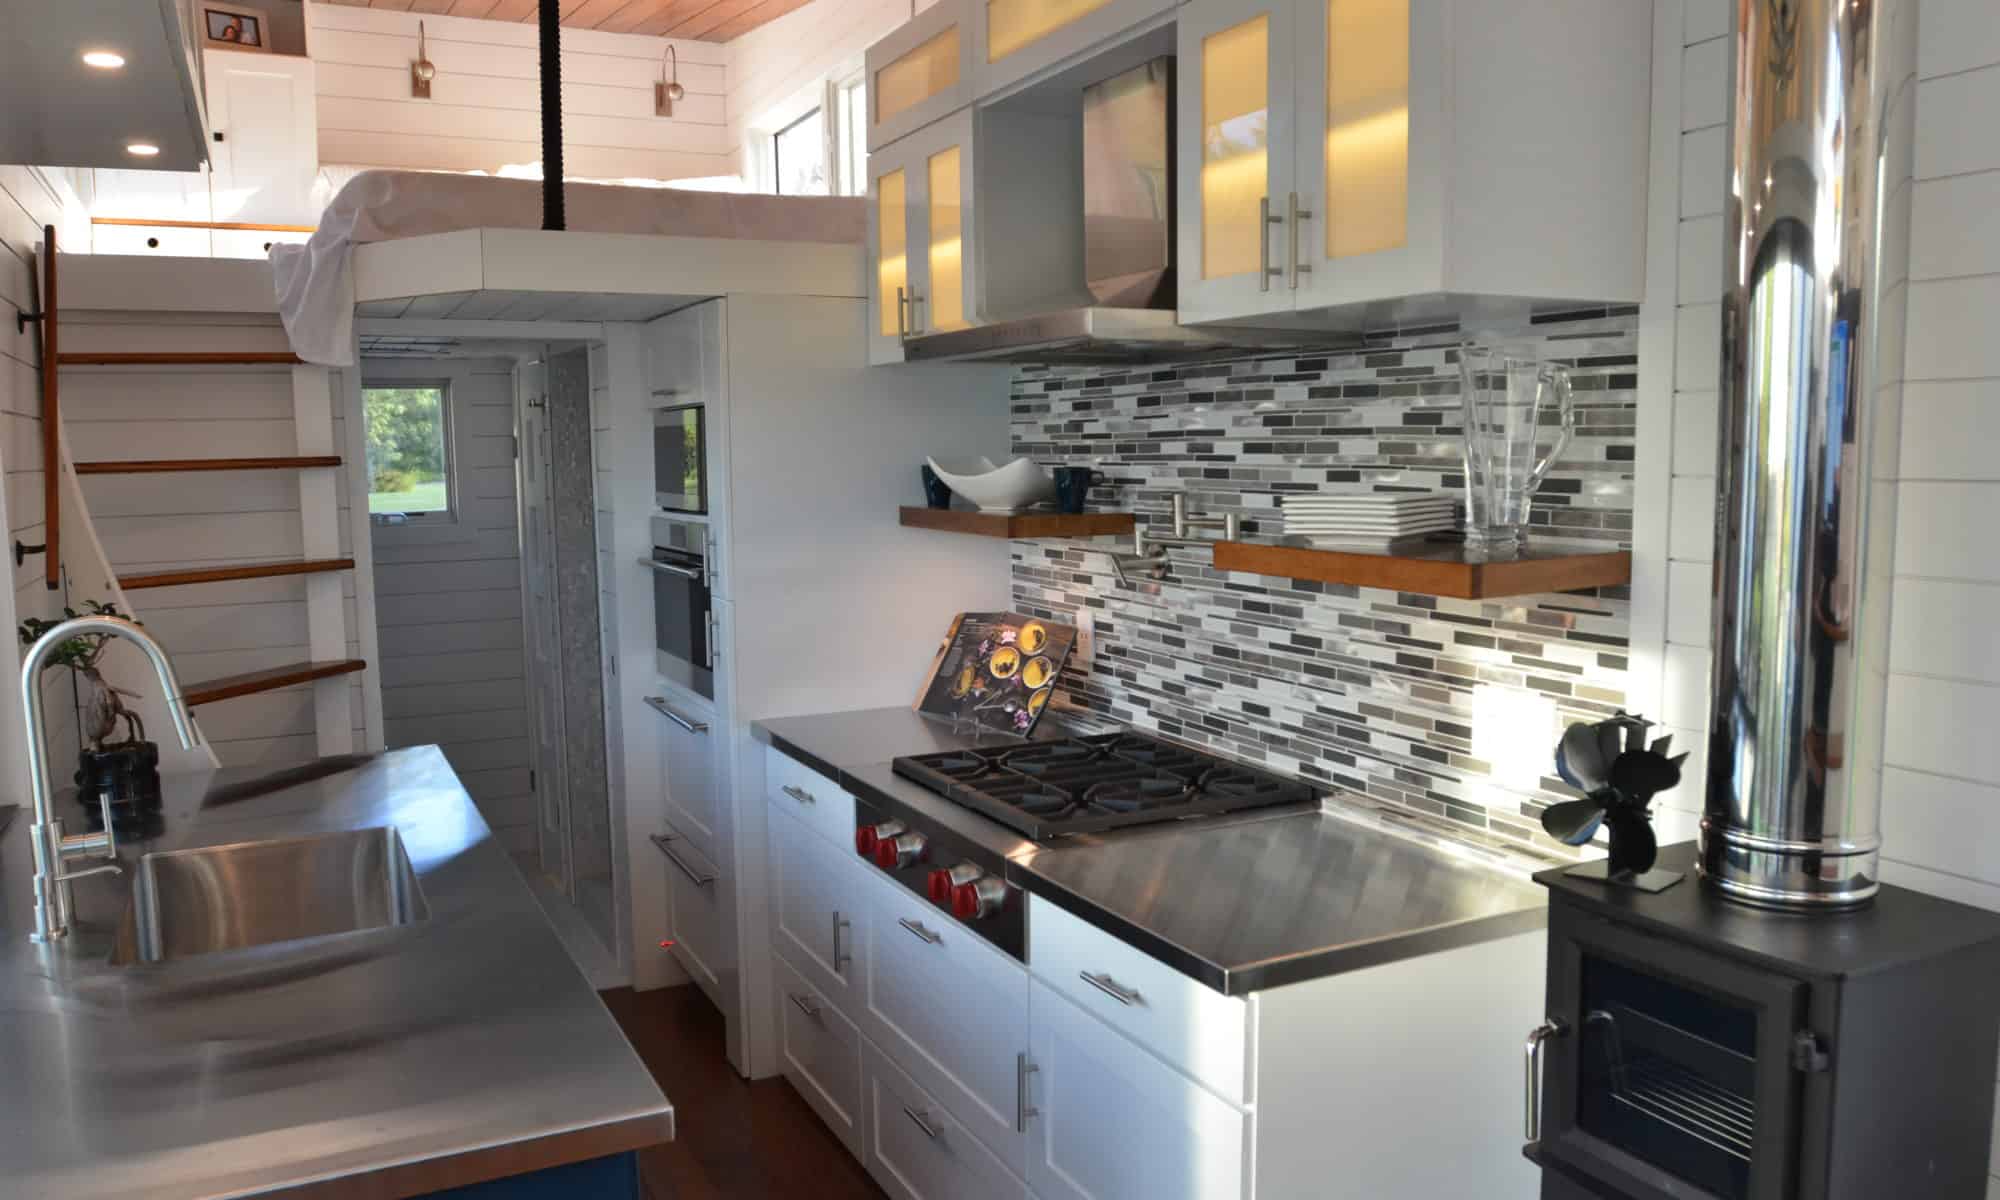
The space for all the electrical, our utility closet, is like everything else, tiny. We have tried to use every available nook and cranny, so all the electrical components, the solar system including batteries, and our home automation unit, all must fit under the stairs to the gooseneck. We started to place some of the boxes, aligning them with the wires for lights, switches, and outlets, in the utility closet.  A little planning and patience proved to go a long way; we came up with a really neat installation plan. Liam is also very particular, organized, and resourceful, which came in very handy.
It was amazing to think that we could actually fill up an entire power panel with breakers. There were no short-cuts. We did everything by the book. We learned a lot from Liam on the do’s and don’ts of wiring. We wired the house (see our post of the rough-in) using a ton of electrical wiring. For example, using the right gauge for the size breaker the load required (14 gauge for 15amp, 12 gauge for 20amp, etc.); regular 110v outlets require 3 wires – hot, neutral, ground; 220v has four – 2 hot, neutral, and  ground. In some instances, because we had some extra wires, we just used the four wire for some of the regular outlets, thinking we would just not use the extra hot. Not so fast. We learned that once this comes into the power panel, it now requires a double pole breaker and we would actually have two 110v circuits in this one wire. It actually worked out fine, allowing us to split the circuit over several outlets. The downside, however, is that it takes up more room in the panel box.
So back to the solar system. The feed that comes down from the panels gets routed to the charge controller which optimizes and controls the charging of the batteries. This power and all the power in the batteries is DC current. The typical current used in homes is AC power. The purpose of the inverter is to convert DC power to AC power. Our inverter is a 48v, which is capable of providing a full 30 amp 220v into the panel. When there is a load (a light is turned on, the freezer is plugged in, and so forth) the inverter reaches out to the battery, converts that DC power into AC and feeds the panel.
A few words about the battery install. This was definitely the highlight and the “cool” factor of this system. It was also the part that was not standard off the shelf. We had to manufacture the terminal connectors from copper bars and then the mounting brackets from wood that we tied into the floor. We actually have room to add two or four more modules if we needed to.
 It took the entire next day to make all the final connections, test them, and mount all the components. Using a small light bulb directly connected to the panel, we eagerly awaited the light to go on. It worked!! We had our own power station!!!!! To monitor the solar activity, Liam set up a Raspberry Pi computer. This system connects directly to the inverter and charge controller giving us web access to see what is going on. Having a Raspberry Pi, with monitoring software, also opens up a whole new opportunity for our home automation plans (more on that in the coming weeks).
 The system was working and we said good bye to Liam after several very long and hard days of work. Perhaps the most exciting event for us was that the system generated 2kWh of energy, despite the fact that it rained the entire day. Yes, on a day of rain!!! We didn’t even see a ray of sun. Now, that is awesome!
We officially cut the cord.
A few days later we had our welder in to make some adjustments to the floating stairs. It was another rainy day. His grinder and other power tools were connected and used our solar power system, all day . As he continued in the evening, we had our large shop light running as well. Before he took off, we checked the status screen on the charge controller; it showed the battery at 95%. Enough said – this darn thing works!