

If you have been following us, you know that our desire has always been to go  off-grid with our Tiny. Having the ability to park our Tiny anywhere and not be dependent on a power cord, would be a great achievement. That would entail some solar panels, an inverter, a charge controller, and some batteries. How difficult could this be? Lots of people seemed to have done it before. Well, once again, our situation was a bit unique so it required a fair amount of research and custom set up. There was lots to be learned.
There is some information on the internet about being off-grid with solar, but we highly recommend finding someone you trust as an advisor. For us, that was Liam O’Brien, “the genius”, who you will hear more about during part two of this post. He can best be reached at Kilawatt Consulting.
First of all, when considering an off-grid system, one has to look at the power requirements; the loads one is putting on the system. Most tiny home off-grid systems are 110v. With our kitchen set-up, we really wanted to have an oven (actually a steam-oven), so we need a 220v system. We also learned that the heat pump/ac system works most efficiently on 220v. Using some template spreadsheets, we then added all the other components and their expected draw so we could arrive at an appropriate system size requirement.
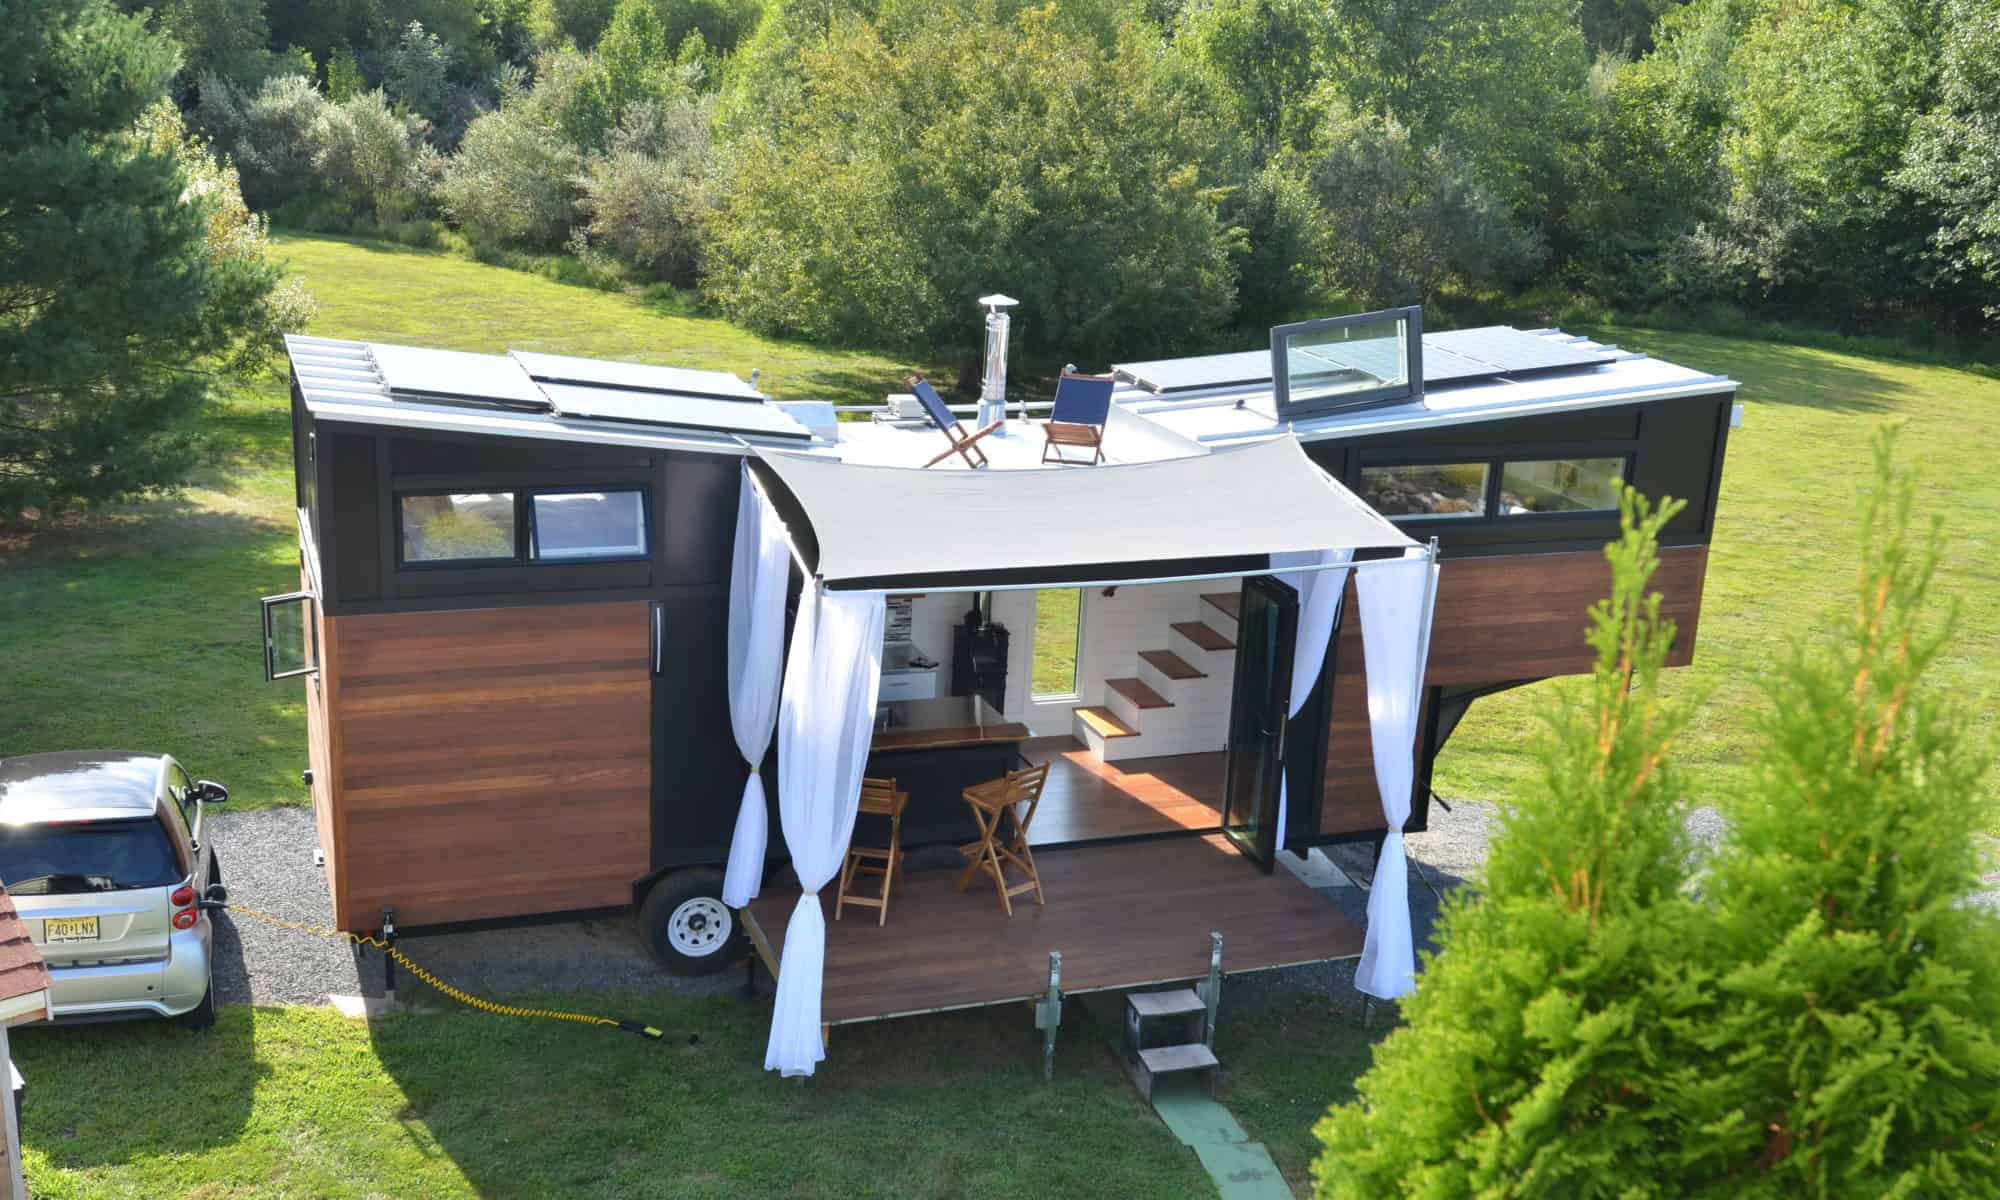
Our roof design, with a deck and access window, limited us to six solar panels.  Good news is that we could divide them into two strings of three. It’s important to keep the system in balance. Given the panels are about 300 watts each, that would give us a 1.8kW capable system.
On the battery side, most people get regular 12v lead-acid batteries. These are similar to the ones in your car. However, we had two concerns with this approach. Lead-acid batteries are not what they call deep-cycle. This means, unlike your cell phone battery, you can’t run them down close to zero before you charge them again. Ideally, they should be 50-60% most of the time. So with a 10kWh battery capacity, you would really only have 4kWh of use. Second, lead acid batteries are HEAVY and take up space. Weight and space, not friends of the Tiny.
We quickly realized that lithium-ion batteries is what we wanted and needed. There are a few options available for home systems, but they are most often dependent on being connected to the grid and quite expensive. A Tesla PowerWall appeared to be a great choice but this was not that straight forward. They had the greatest capacity, but did not offer an off-grid option. Even after we became part of their “off-grid” beta test program, they quickly shut us off once we told them it was for a tiny house on wheels, e.g. movable.
We were not going to give up. Additional research uncovered that there was a whole business out there of people tearing down Tesla cars and reselling the battery packs. So now we had to figure out how to connect these to a solar power system. Not trivial. But it all started to make sense. We were going to build our own PowerWall.  Each of the Tesla packs (there are 16 of these in a Model S) are 24v, about 5kWh, providing about 235Ah. They weigh about 55 lbs (25 kg). We figured we could use 4 of them. Connecting two in series would give us 48v and then we would connect two in parallel to give us a total of 24kWh capacity. Above is a sketch of what the that would look like.
 After contacting various solar integrators on the internet, we narrowed down our configurations of components to a MPPT Charge Controller from Midnite Solar and a 48v inverter from Magnum. The MPPT is the most efficient way to convert solar panel output to battery charge and a 48v inverter takes the DC current from the batteries and converts it to AC power which goes into our electrical panel. Two tasks remained. We had to figure out how to put all the components together and get all this at the best price. However, we were mostly concerned about hooking up the Tesla batteries since we chose the nonconventional route.
We continued to search the all mighty U of I (University of the Internet) to find articles, examples, or perhaps some youtube videos. Luckily, we came across one from DIY Homestead. They had essentially done what we wanted to do. We contacted them for some more details, and found the one and only, Liam O’Brien. He is a wealth  of information, practical, great work ethic, and a super, awesome guy. In short, he is the subject matter expert in off-grid solar. Simply put “the genius”. He not only helped us source the right gear at a lower cost, he also offered to come down and help us install. Turns out he only lives a few hours away. Part two – the install – will be posted in a few days.
Wow! Great reading and very inspiring!
Thank you Åsa. And cool to hear you are adding solar as well. Go Green!!!
What happened to the solar pdf? Error message on all links.
Chris, my apologies. Need to get back on the blog and just saw your note. Liam has to move the assets. Let me get the new link. Thanks for letting me know
We changed the link at the top to the Kilawatt Consulting. That is Liam’s company. he can provide you all the resources you need. The second link does still point to the video of the system he first created for the Homestead folks. Just send us a note if you need more details.
This blog Going off-grid – part 1 – what do we need?
helps me a lot with my battery problems. I use a simple solutio for my battery from here: https://s96.me/battery-reconditioning (or clik on name) 😉
Kiss you all!