

No home is complete without a proper bath and laundry room. Well, in a tiny home they are often combined into one. To further save on space, we had researched and read a lot of stories about combo washers and dryers, but knew that was not what we wanted. They don’t dry really well and run for a very long time which is not all that efficient. On the other hand, a regular dryer is 220v and does take a fair amount of juice to run.
While searching for our kitchen early on in our process, visiting the Miele USA headquarters showroom, we were fortunate enough to run into the product manager for a new class of heat pump dryers that run on 110v. Super efficient operation and top class performance. We knew we had a winner and he assured us we would be able to get them shortly after launch, which was to be in April ’18.


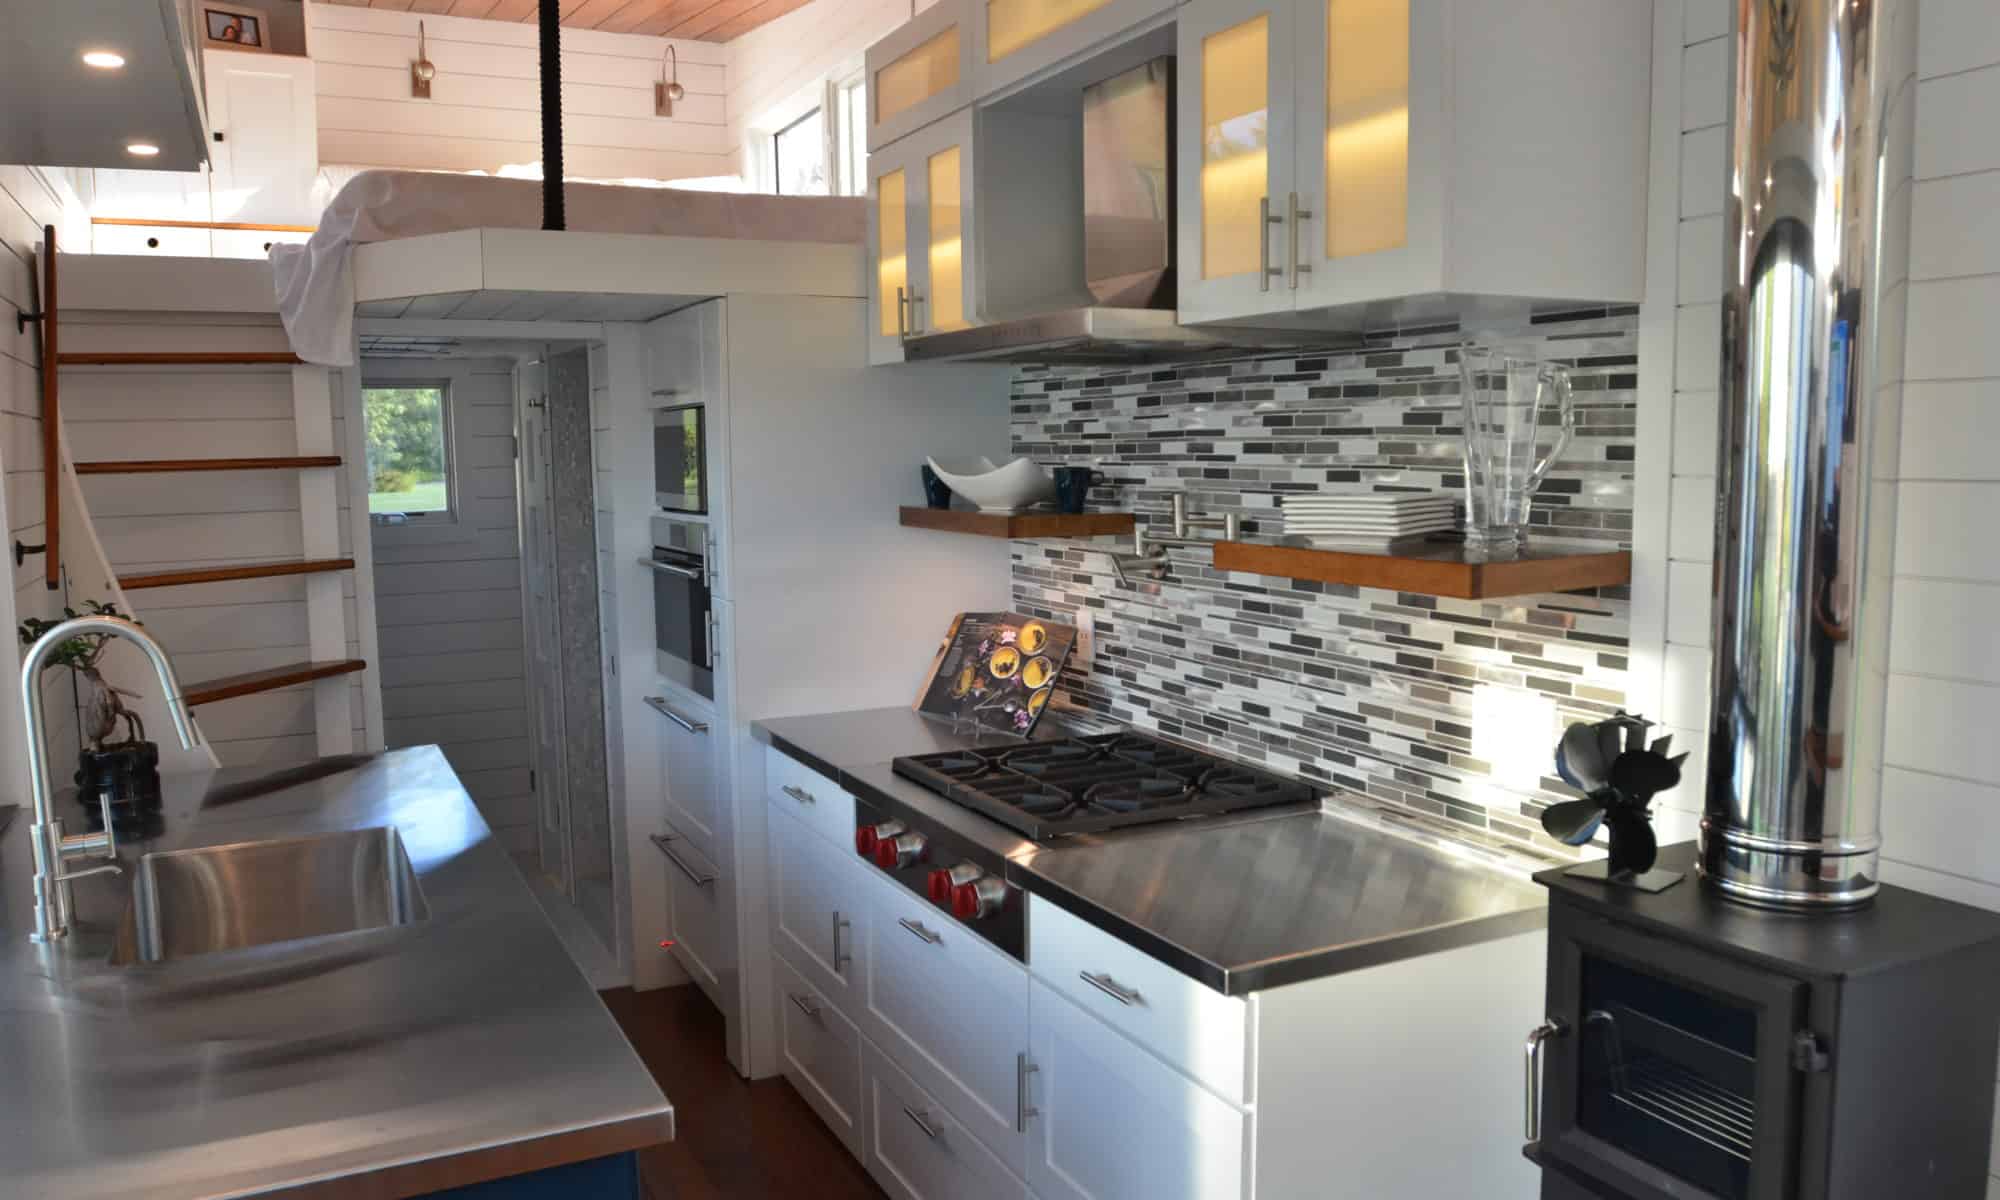
We also knew we wanted tile floors and radiant heating to help make them warm and comfortable (especially considering there is no foundation on a tiny and cold air flows underneath – more on how we deal with that in a later post). We found WarmlyYours to be a great partner here and their customer support has been outstanding.
We also wanted to tile the shower walls, floor, and ceiling. All this tile work raised two issues – weight and potential of cracking while pulling the tiny down the road. We must have spent at least a week researching options for thinset, grout, backer board and the tile itself. Hopefully what we arrived at will all work out.
We started on the main floor, spreading some thin set; used a product with flex compound mixed in. Thereafter we laid down the WarmlyYours heating mat, followed by another thinset layer, a flex layer (the orange in the picture), thinset, and then the tile. We chose a marble/ mother of pearl combination for the floor. It was fairly light weight and we loved the design. For the grout, we used a specially formulated grout with urethane for superior crack protection – Neverseal from Bostik. We used a simple 12×12″ tile under the washer and dryer.


For the shower, we used an ultralight foam backer board, seam tape, styrofoam based floor pan and threshold. After sealing and finishing all the openings, we applied the same thinset before laying the tile. Here we used all mother of pearl tile. Regular tile is about 4 lbs a square foot. This tile is 6 square ft for the same weight. This made a huge difference. We used the same grout and Julia really did an outstanding job. Very happy with how it turned out.
We had plans to add a glass door to the shower, but once again the weight conscious decision was made and we will just use a curtain that hides away when not in use. The shower is too beautiful to not show off.
As you may have seen in our early design overview video, we also incorporated an outdoor shower so that we could easily wash off mud from a hike or bike ride or take a full shower in a natural setting. To accomplish this we added some shut-off valves and drain plugs in the toilet room. We built a small cover of shiplap to make it blend in.
 Now for the toilet, as we were going to be off-grid, we needed to find a compost toilet. There are a few choices out there and we settled on Nature’s Head. Reviews were great, no odors, good customer service, and easy to install and maintain.
The cabinetry in this area is not extensive, so we were able to get some standard Ikea cabinets for over the sink and between the washer and dryer. We had to build a small drawer over the base to match which can be used for small storage. Two mirrored medicine cabinets fit perfect in between the above. Since the washer and dryer take up most of the room below, we chose a vessel sink for the counter. Originally we wanted a double sink but the vessel was extremely large for the space and it looked out of place. We had to settle for a single sink but it became daunting since we had to find one that would cover the hole that was originally made to incorporate the plumbing for the double sink. By the way, the counter is quartz which not only is beautiful, but saves weight over marble and will hold up to cracking a lot better.

 The ceiling offered an opportunity for some additional storage. You will see in a future post that we built storage into the floor of the sleeping loft. This did leave some room in the ceiling in the bathroom so we added some fold down drawers here too.
We finished off the bathroom by designing and building a pocket door with translucent panels to let the light through. It became a project in itself but gave us some good practice with the router and creating tongue and groove.