

While every task and activity around building a house, even a tiny one, is a big deal, it is not every week that we see huge changes. So this past week we sweated the small stuff – worked a lot on paperwork and research, ran our utilities, and built the framing around the wheelwell.
There are still many decisions to be made and products to select. Lucky for us there have been so many before us and many like us, who post their choices and reasons why. A major next item for us is the automation system, so let us know any insights you may have. We are also having to select our standing seam metal roof vendor. Any recommendations or suggestions are welcomed.
We have started to receive some of our other items so we will post our thoughts and selections as we install them. One small set back this week was our roof access window. We were all excited about installing it and found it cracked when we opened the box. A replacement should arrive in the next couple of weeks.
As we have mentioned on our earlier posts, we will primarily be on the road with our tiny home. However, when we are home, it will be our guest house. We knew we needed water and electricity brought out to the tiny house (it is not always sunny enough in NJ for us to rely on solar power 100% of the time), so we had laid some piping under our parking spot. With the deep freeze, at least temporarily over, we took the opportunity to dig the rest of the way and draw the power cable and water line. For the water, we decide to get heated drinking water hoses and run them through 2″ (5 cm) piping. Because we have about 80′ (24.3 m) of ground to cover, we had to get two 50′ (15.24 m) hoses, each with their electrical connection at the end.
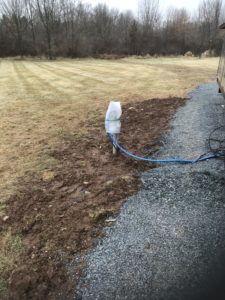 Thinking ahead, we may want the ability to rent the space and have other tiny homes be able to park on the property. That being the case, we went with a 50Amp 220/240v electrical line with an electric meter. We had some help with the digging, but it still took us all day. We are pretty happy with the results, though.


Going back inside the tiny house, we focused on the wheel-wells. The framing sits on top of them, but they protrude further in and is just a thin layer of steel. We heard from several tiny home owners that this area is often the source of drafts and cold. Since we are having blown in closed cell foam insulation installed, we decided to build a thin frame which would allow for 2″ (5 cm) of insulation. Yes the walls are thicker than that, but we needed to

minimize the depth as we have appliances that will back up right to them. We built both frames but installed one of them thus far.
till next time….


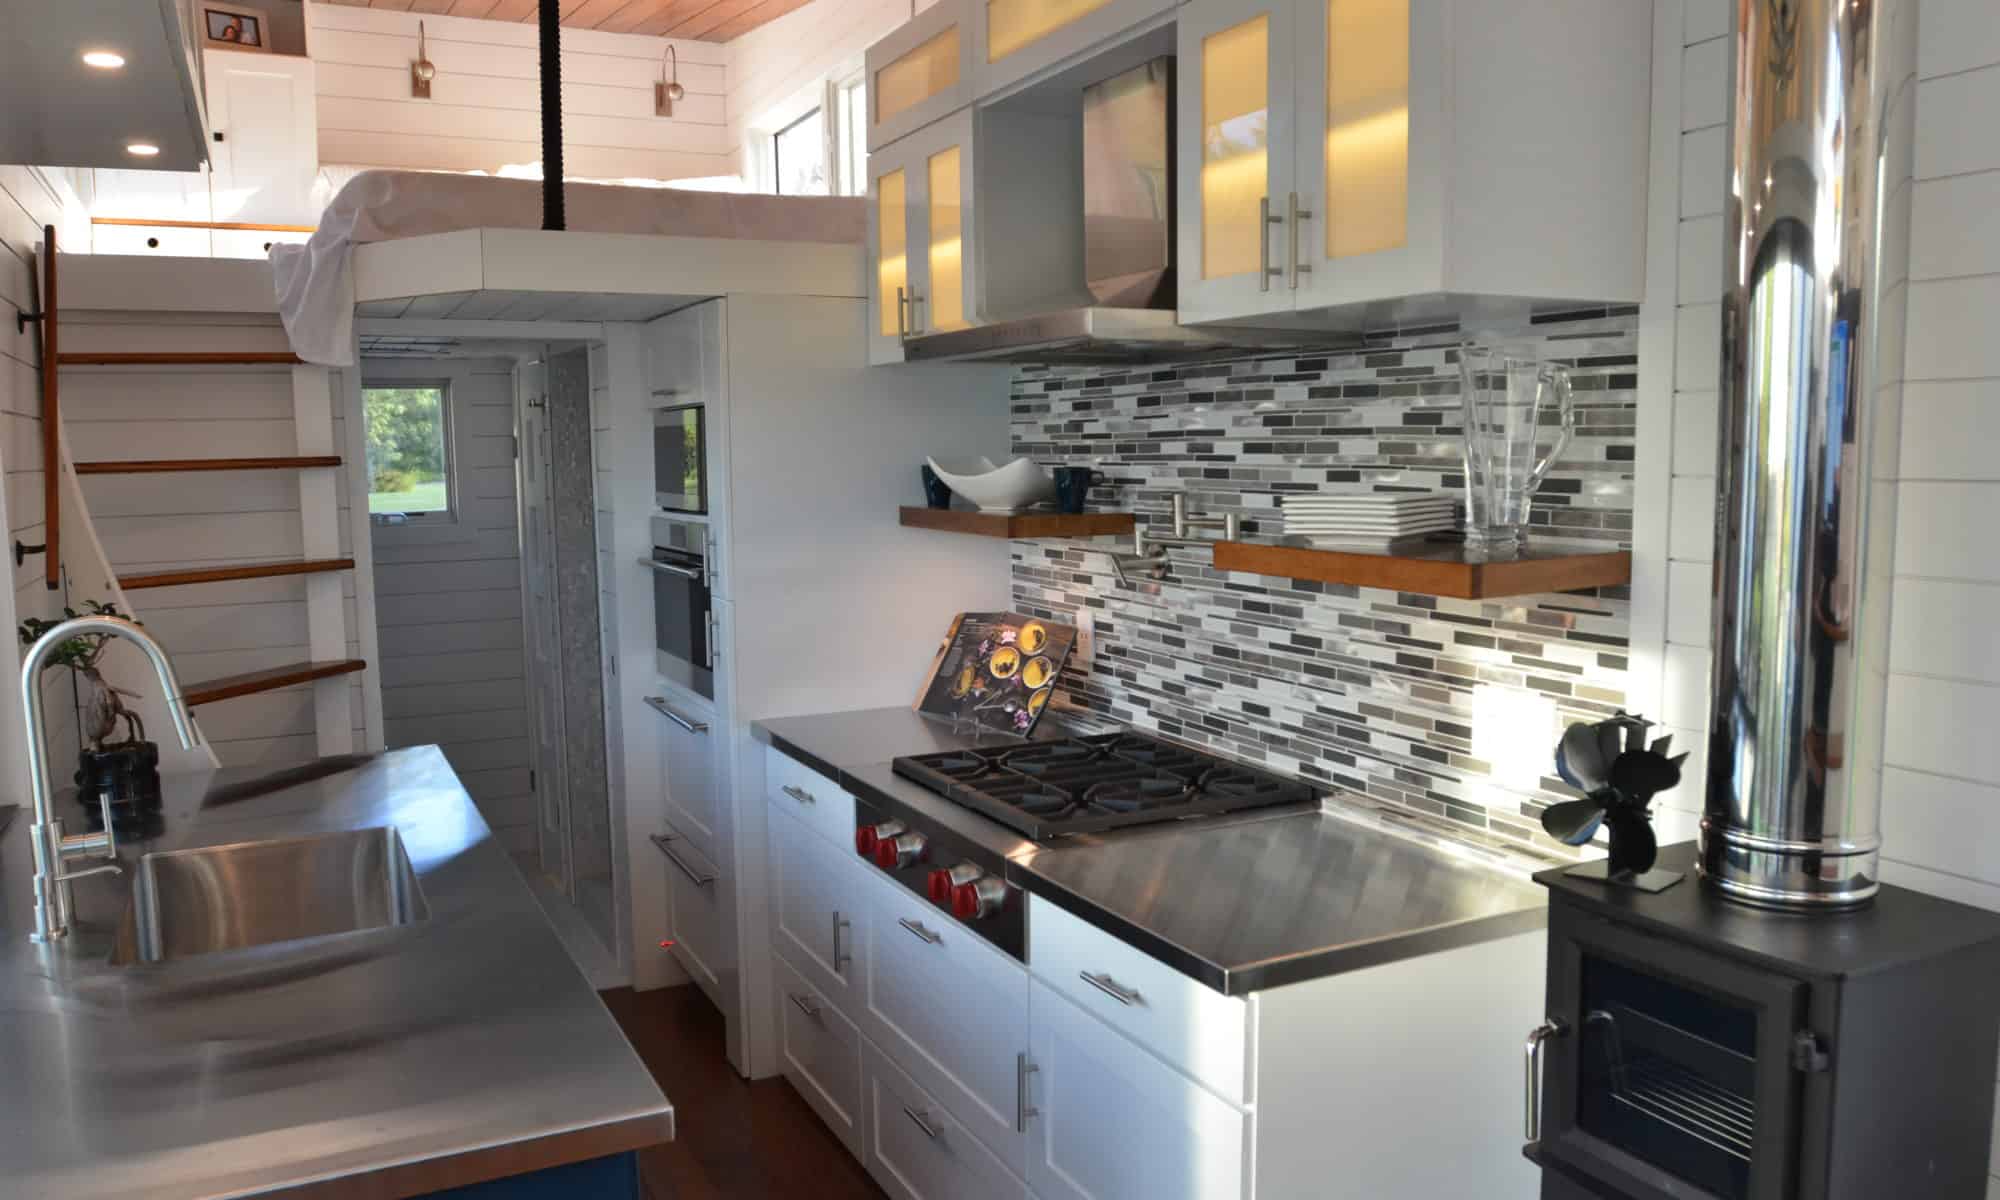
 Two days ago, the weather was still a bit miserable so we spent some time inside the shell of the Tiny house discussing various options and the layout. Our smaller loft has not been installed yet (we will probably do that after the insulation goes in) therefore we imagined its placement and where the stairs would need to be to get up to the roof window and deck. Suddenly, it dawned on me; there was really no way to actually walk up to the roof top window. One would have to crawl across the loft then stand up to exit. What had I done? I couldn’t believe I had messed this up. Arrrrgghhh (okay, I said a few worse things….)
 Today was an early rise and shine. I ran off to Home Depot and Wegman’s, which both opened at 6:00AM. When I returned home, Julia was already on the roof. We had a great day.
  Once we put the roof in its proper place, everything just worked out better. We were now back on track. In the process, we discovered some new ideas for storage in the roof. Perfect!


 This will cover all the seams of the sheathing and will also be used around the window frames. Putting it down in the right order so that water can always travel downward is critical.
 Since the roof panels are more susceptible to moisture (the center roof is regular 3/4″ subfloor grade plywood as that is where the roof top deck goes) and that is often where moisture issues start. It is such a small roof after all so two rolls will easily cover it. Again, you start at the bottom and overlap each row as you go up. For us that means we start with the center section first and we will also overlap the edges (which will have the tape on them already).

 We decided to add a fire pit to the work area so we did not have to go in and warm up and it also let us get rid of some of the scrap wood we had.