

If you have been following us, you know that our desire has always been to go  off-grid with our Tiny. Having the ability to park our Tiny anywhere and not be dependent on a power cord, would be a great achievement. That would entail some solar panels, an inverter, a charge controller, and some batteries. How difficult could this be? Lots of people seemed to have done it before. Well, once again, our situation was a bit unique so it required a fair amount of research and custom set up. There was lots to be learned.
There is some information on the internet about being off-grid with solar, but we highly recommend finding someone you trust as an advisor. For us, that was Liam O’Brien, “the genius”, who you will hear more about during part two of this post. He can best be reached at Kilawatt Consulting.
First of all, when considering an off-grid system, one has to look at the power requirements; the loads one is putting on the system. Most tiny home off-grid systems are 110v. With our kitchen set-up, we really wanted to have an oven (actually a steam-oven), so we need a 220v system. We also learned that the heat pump/ac system works most efficiently on 220v. Using some template spreadsheets, we then added all the other components and their expected draw so we could arrive at an appropriate system size requirement.
Our roof design, with a deck and access window, limited us to six solar panels.  Good news is that we could divide them into two strings of three. It’s important to keep the system in balance. Given the panels are about 300 watts each, that would give us a 1.8kW capable system.
On the battery side, most people get regular 12v lead-acid batteries. These are similar to the ones in your car. However, we had two concerns with this approach. Lead-acid batteries are not what they call deep-cycle. This means, unlike your cell phone battery, you can’t run them down close to zero before you charge them again. Ideally, they should be 50-60% most of the time. So with a 10kWh battery capacity, you would really only have 4kWh of use. Second, lead acid batteries are HEAVY and take up space. Weight and space, not friends of the Tiny.
We quickly realized that lithium-ion batteries is what we wanted and needed. There are a few options available for home systems, but they are most often dependent on being connected to the grid and quite expensive. A Tesla PowerWall appeared to be a great choice but this was not that straight forward. They had the greatest capacity, but did not offer an off-grid option. Even after we became part of their “off-grid” beta test program, they quickly shut us off once we told them it was for a tiny house on wheels, e.g. movable.
We were not going to give up. Additional research uncovered that there was a whole business out there of people tearing down Tesla cars and reselling the battery packs. So now we had to figure out how to connect these to a solar power system. Not trivial. But it all started to make sense. We were going to build our own PowerWall.  Each of the Tesla packs (there are 16 of these in a Model S) are 24v, about 5kWh, providing about 235Ah. They weigh about 55 lbs (25 kg). We figured we could use 4 of them. Connecting two in series would give us 48v and then we would connect two in parallel to give us a total of 24kWh capacity. Above is a sketch of what the that would look like.
 After contacting various solar integrators on the internet, we narrowed down our configurations of components to a MPPT Charge Controller from Midnite Solar and a 48v inverter from Magnum. The MPPT is the most efficient way to convert solar panel output to battery charge and a 48v inverter takes the DC current from the batteries and converts it to AC power which goes into our electrical panel. Two tasks remained. We had to figure out how to put all the components together and get all this at the best price. However, we were mostly concerned about hooking up the Tesla batteries since we chose the nonconventional route.
We continued to search the all mighty U of I (University of the Internet) to find articles, examples, or perhaps some youtube videos. Luckily, we came across one from DIY Homestead. They had essentially done what we wanted to do. We contacted them for some more details, and found the one and only, Liam O’Brien. He is a wealth  of information, practical, great work ethic, and a super, awesome guy. In short, he is the subject matter expert in off-grid solar. Simply put “the genius”. He not only helped us source the right gear at a lower cost, he also offered to come down and help us install. Turns out he only lives a few hours away. Part two – the install – will be posted in a few days.

 Again, research told us that a standing seam was the best choice as we were going to have solar panels mounted. It turns out that there are specific mounting brackets that fit right on the seam, allowing us to mount them close to the surface and without penetrating the actual roof.
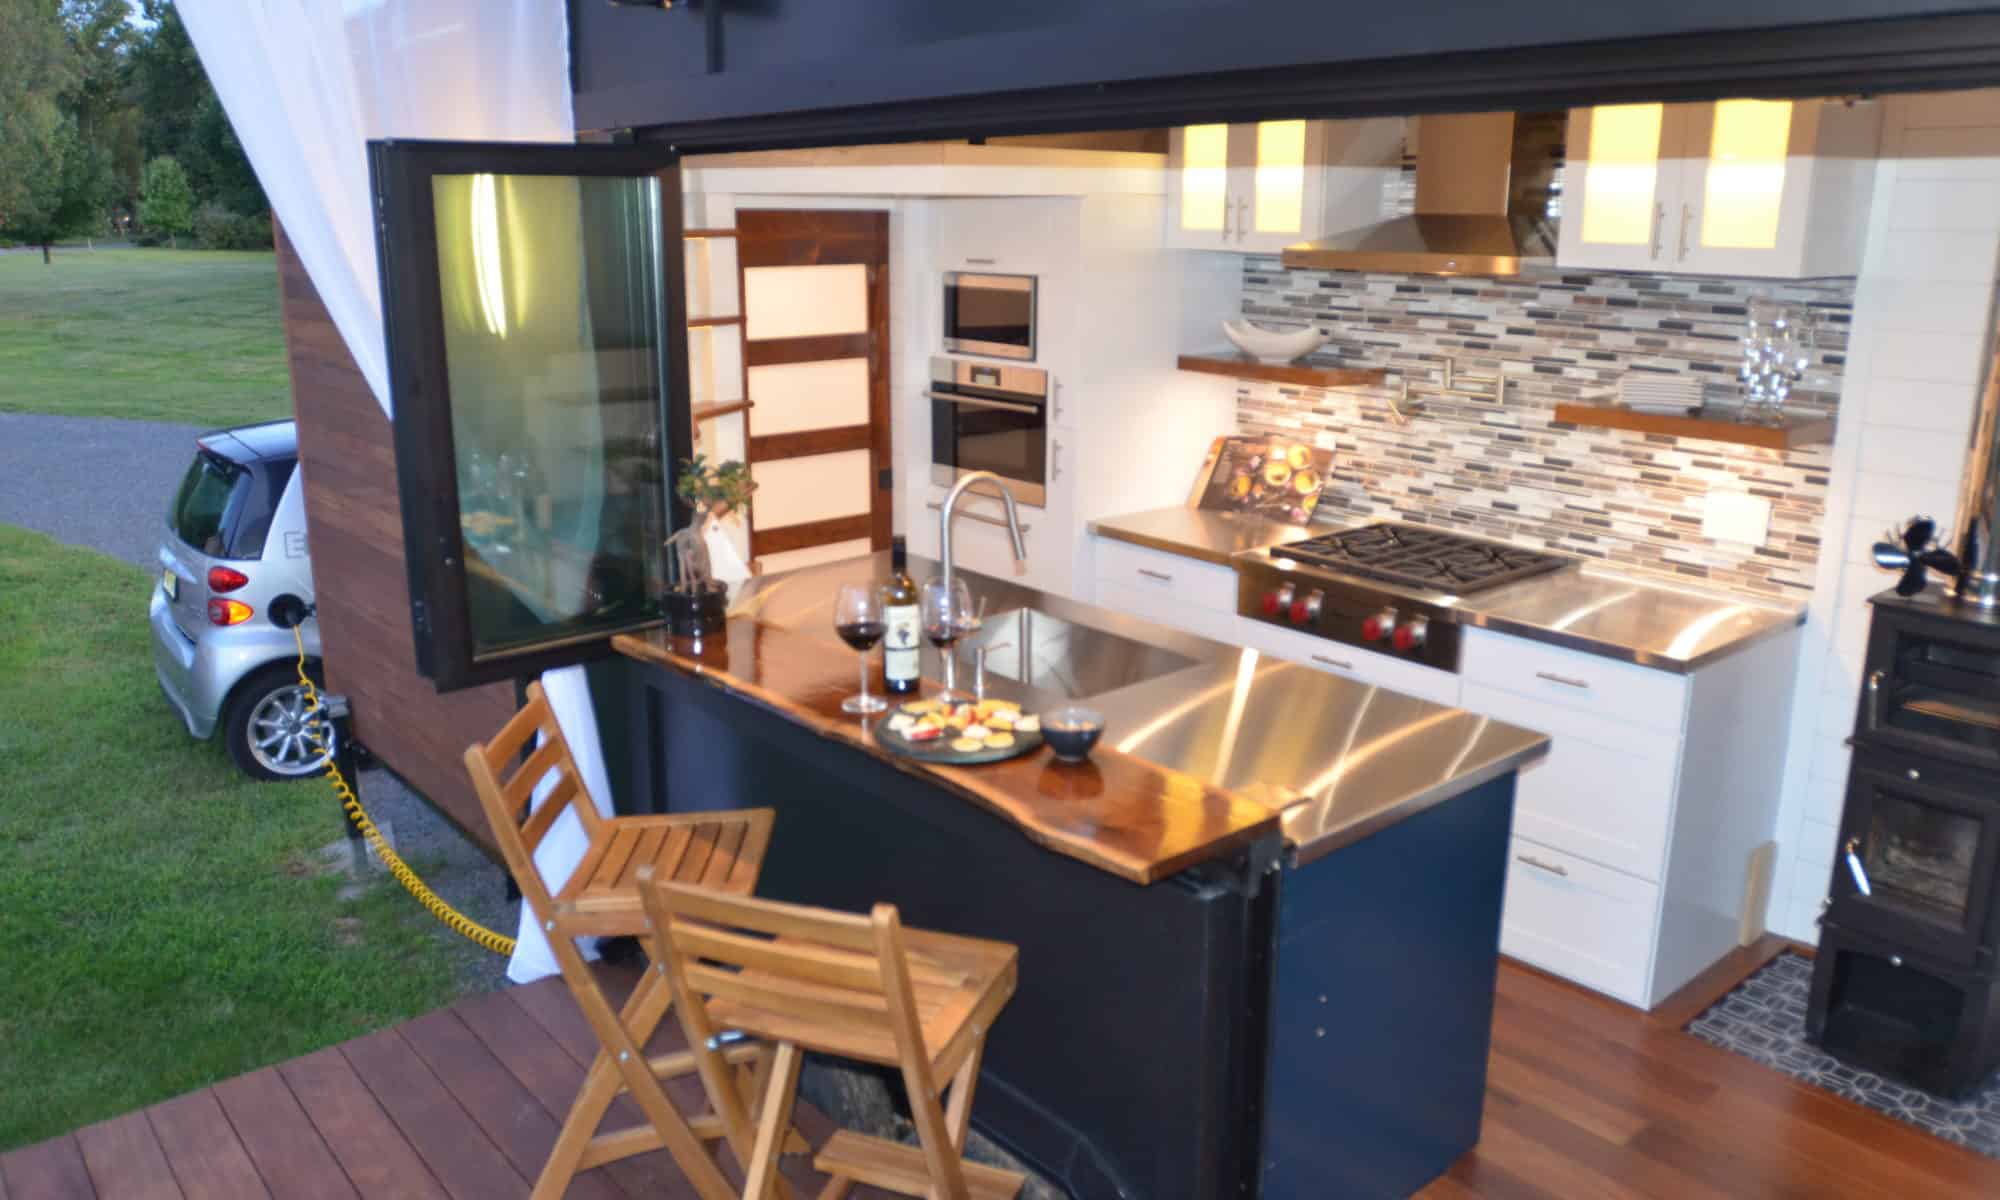
 For our kitchen (and we have a lot more exciting news to share about that soon), we decided to go with a
 Our
Our  Lastly was the


 Secondly, making sure the structure could accommodate this wide span with a deck on top was not trivial. This is where our selection of

 Finally
 The day finally arrived and the Truck and Trailer of the installer smoothly backed into the driveway and started up the machinery. There was a crew of three. The master sprayer (he had 15 years of experience and was a bit of an artist with the spray gun) and two others who did the prep and cleanup. Plastic sheathing went on all the windows, floors, and even the stairway and loft support pole were covered. Nice job.
 As you can see in this picture here, proper protection is required during the application process. However, all gasses dissipate within minutes and the resulting foam is actually biodegradable.


 The rest is all accessible after the insulation goes in. I will do another post on the actual plumbing with the tanks, pumps, filters, etc. That is a whole science in itself.


 needed water and electricity brought out to the tiny house (it is not always sunny enough in NJ for us to rely on solar power 100% of the time), so we had laid some piping under our parking spot. With the deep freeze, at least temporarily over, we took the opportunity to dig the rest of the way and draw the power cable and water line. For the water, we decide to get heated drinking water hoses and run them through 2″ (5 cm) piping. Because we have about 80′ (24.3 m) of ground to cover, we had to get two 50′ (15.24 m) hoses, each with their electrical connection at the end.
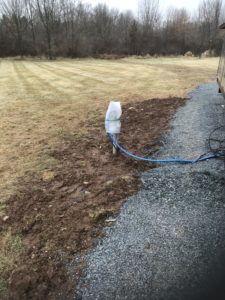 Thinking ahead, we may want the ability to rent the space and have other tiny homes be able to park on the property. That being the case, we went with a 50Amp 220/240v electrical line with an electric meter. We had some help with the digging, but it still took us all day. We are pretty happy with the results, though.


 Two days ago, the weather was still a bit miserable so we spent some time inside the shell of the Tiny house discussing various options and the layout. Our smaller loft has not been installed yet (we will probably do that after the insulation goes in) therefore we imagined its placement and where the stairs would need to be to get up to the roof window and deck. Suddenly, it dawned on me; there was really no way to actually walk up to the roof top window. One would have to crawl across the loft then stand up to exit. What had I done? I couldn’t believe I had messed this up. Arrrrgghhh (okay, I said a few worse things….)
 Today was an early rise and shine. I ran off to Home Depot and Wegman’s, which both opened at 6:00AM. When I returned home, Julia was already on the roof. We had a great day.
  Once we put the roof in its proper place, everything just worked out better. We were now back on track. In the process, we discovered some new ideas for storage in the roof. Perfect!